Heylo!
I received a lot of compliments and questions about my brows.
One frequent compliment and question I received was:
Are your brows embroided?
Nope, i dont do any brow embroidery mainly because
I hate going under a needle or anything painful.
I have a low tolerance of pain haha
I used to have thick and shaped eyebrows but I never like the shape.
It is very highly arch that gives a snobby and fierce impression on my whole complexion.
So, I decided to shave the top arch and the tail of the brow which leaves me
SEMI-BROW LESS!
With brows like this, of course i have to shape them every day!
I cant go to my dad's office and greet customer with no brows right?
HAHAHAH
So here I am going to reveal how I do my own brows from grooming, shaping and the tools!
But before I begin,
please be aware that none of these pictures are edited so you can see my flaws.
I cant be bother to edit them :P
Viewer discretion is advised.
Here is me with no brows.
Sexy right?
Alrighty, so lets begin with grooming.
I am a very practical and simple person.
I will find a way that is super efficient and saves up time.
GROOMING
Here are what you need:
1. scissors
2. tweezers
3. shavers
4. clean brush
1. First, by using the shaver, I shaved the hair that are outside of the eyebrow shape.
I have a natural shaped eyebrows which is a plus for me.
It will be easier for you to draw a shape of the brows before shaving them.
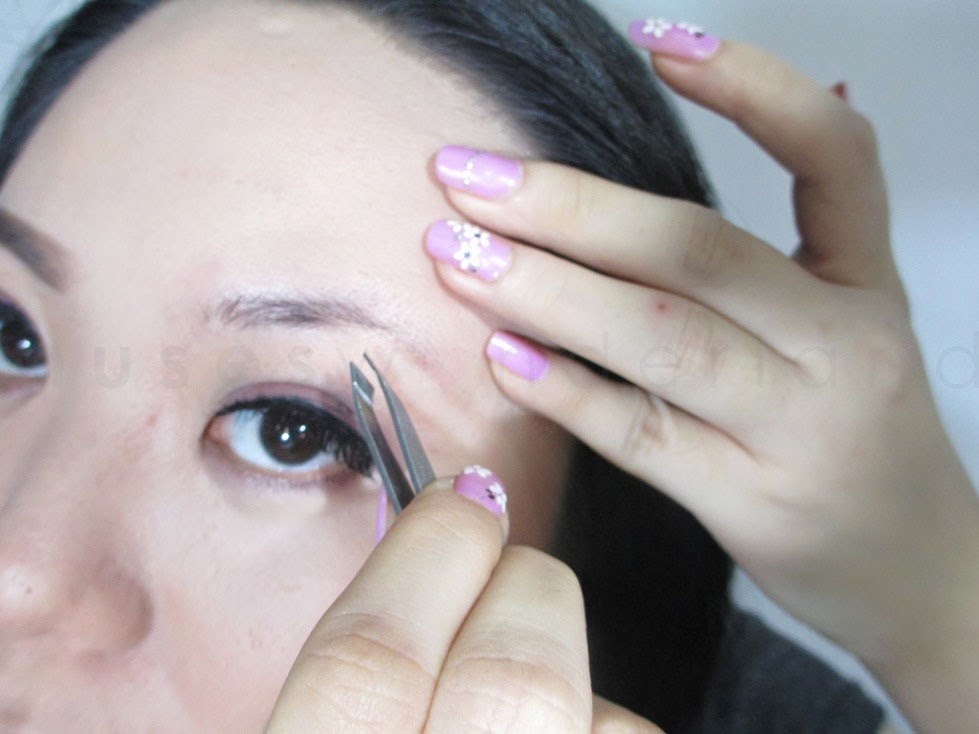
2. Shaving only get rid most of the visible hair, if you still see some hair left like the tiny ones,
use a tweezer and pluck them out.
3. Once everything are done, brush your brows upwards,
with a pair of scissors, cut the hair at the same length.
Then just clean up the rest of the fall out with a clean brush.
SHAPING
Here are what you need:
1. brow gel (brow pencil if you dont have one)
2. brow powder
3. thick and stiff brush for brows
4. fluffy brush for brows
5. cotton bud
6. concealer (optional)
1. With an eyebrow gel (or pencil), create the base below the brow.
The base is depending on the shape of the eyebrow you want to create, I am doing the normal eyebrow shape.
2. Then, create the top shape connecting with the tail of the brows.
3. Fill in the shape with the same brow color, I didnt add more gel because there is enough gel on the brush to fill everything in.
4. Using the fluffy brow brush, dab it onto the brow powder,
fill everything in. Make sure you blend it well as it gets to the front of the brows.
5. Clean everything up with a cotton bud and enhance the shape even more with concealer.
Alright, that is all for now about my brows.
If you want to learn more, come and contact me ;)
dont forget to follow me on: